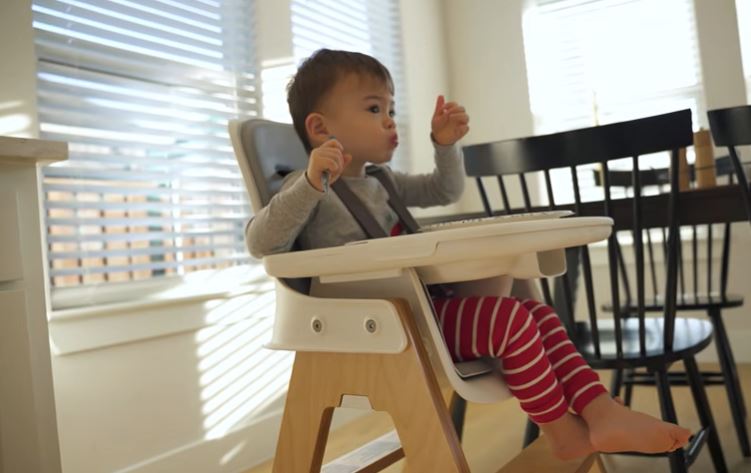
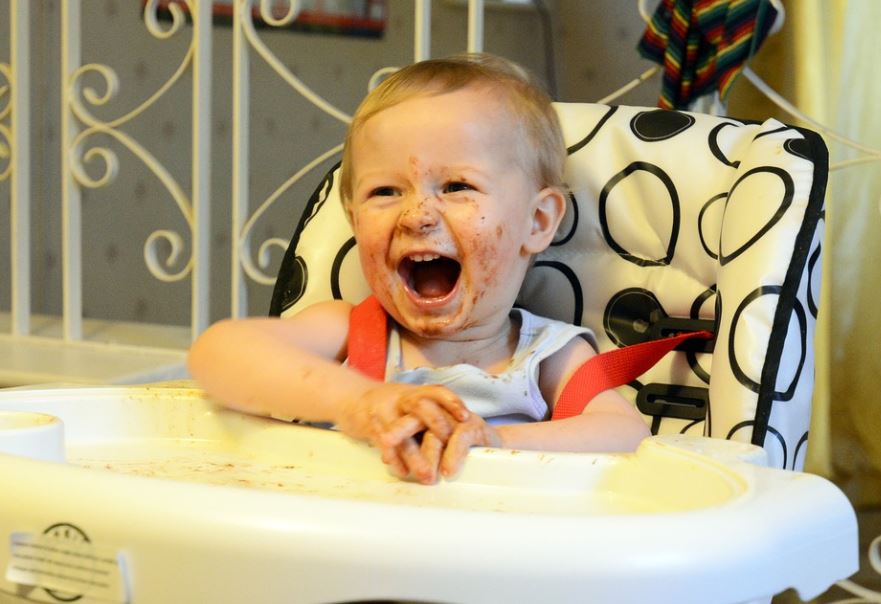
When you are a parent, you enter the exclusive world of baby products, items, gear, whatever you want to call it; one of those products include the best high chair you can find for your child and one thing you … Read more
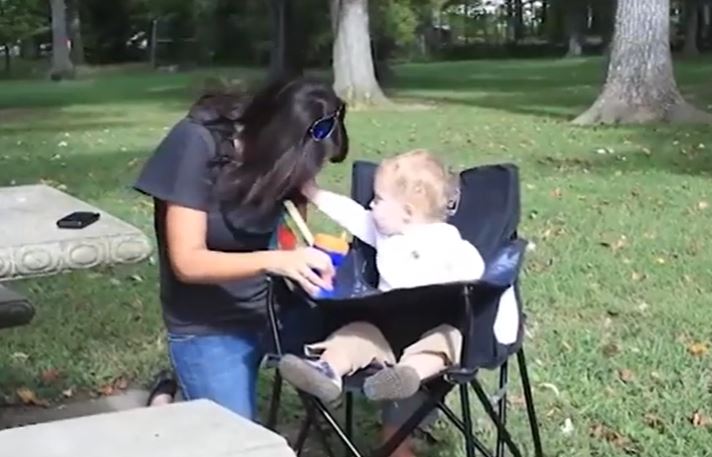
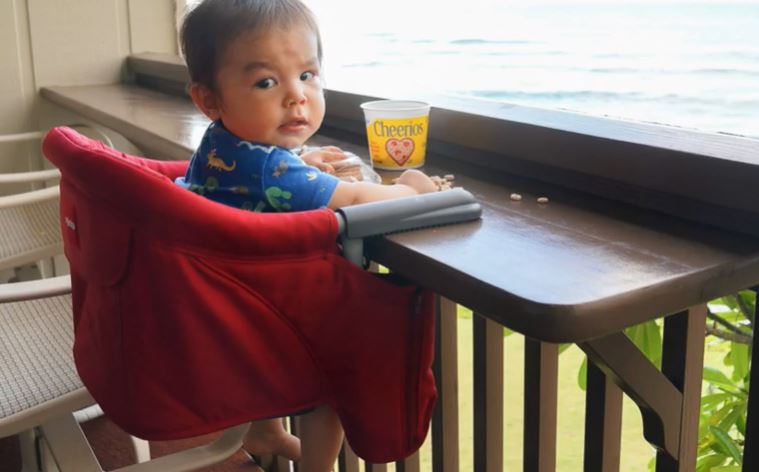
Thinking about traveling for the first time with your toddler and what a wonderful experience it would be? Then you may need a few essentials, including a high travel chair. Though you may not need it until you actually make … Read more
On the lookout for the best adjustable high chair? It is an exciting experience seeing your newborn grow and develop through its early stages; however, this incredible experience also requires a whole lot of gear to get your baby through … Read more
On the lookout for the best convertible high chair? We hear you; if you have little ones at home, then a high chair is one of those baby products you just can’t do without. Convertible high chairs are vital for … Read more
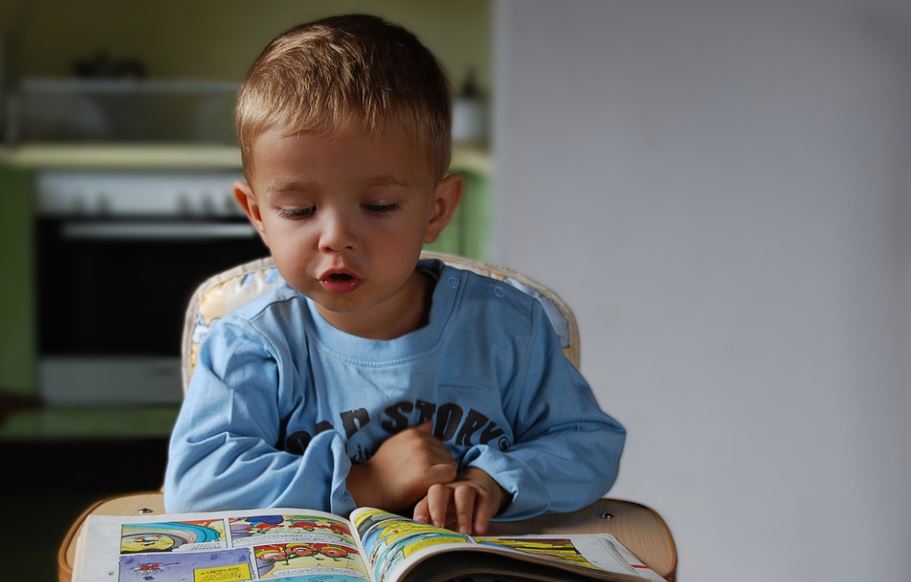
In the lookout for a baby high chair? We hear you; if you have little ones at home, then a high chair is one of those baby products you just can’t do without. A high chair provides your baby with … Read more
In the lookout for a baby carrier basket? We hear you; if you have a newborn at home, you may find yourself in need of a handy baby basket. Baby baskets are great baby products to keep an eye on … Read more
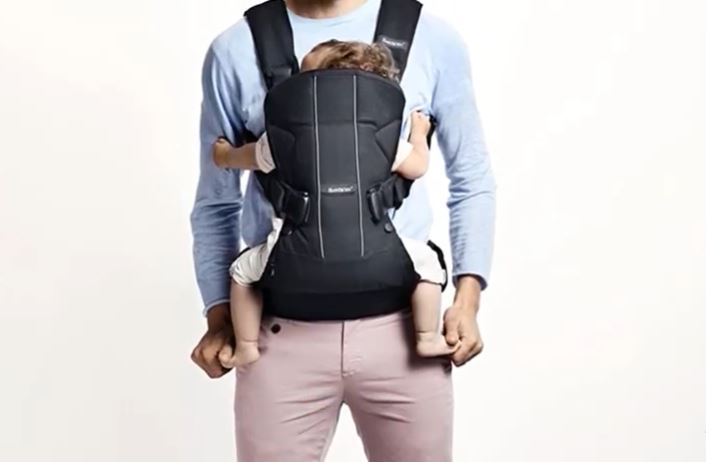
If you consider yourself a hip and modern dad, then a baby carrier is what you need to go out and about with your baby. Truth be told, you don’t really need to be a modern parent or to go … Read more
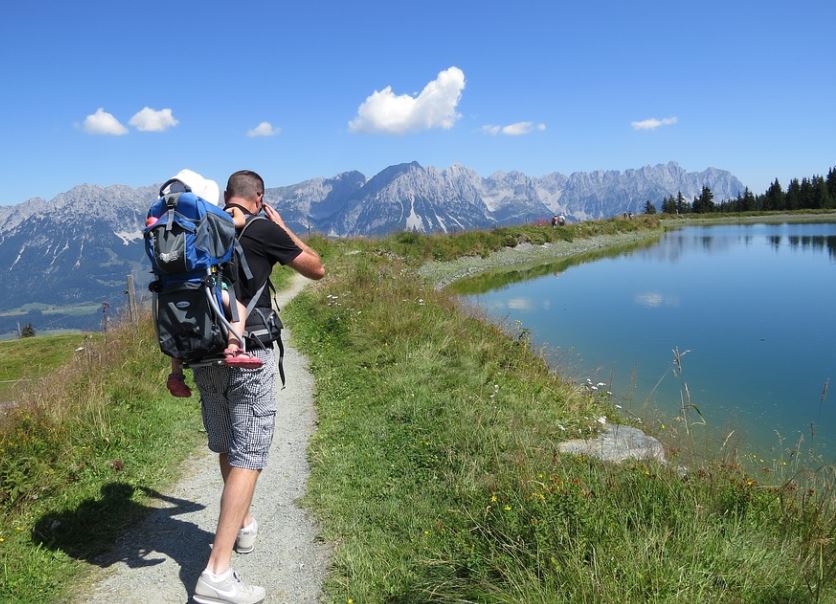
Searching for the best hiking baby carrier? We hear you; whether you are going on a hike, heading to the park, or just out for a walk with the dog, why not make it an exciting adventure with the best … Read more
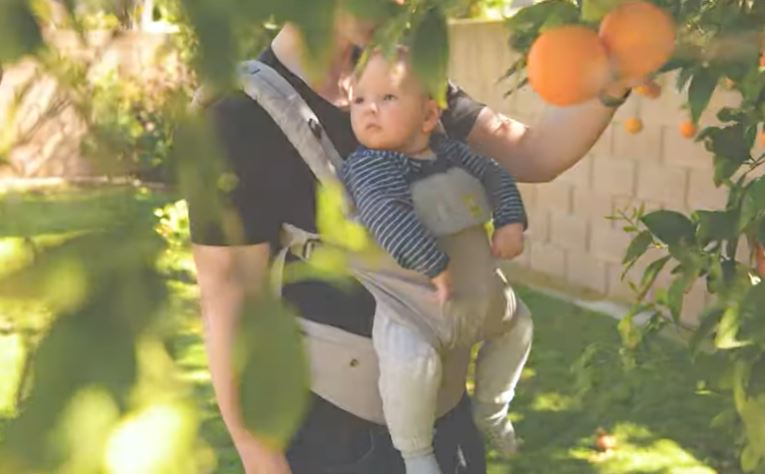
Wishing to keep your baby close while having the freedom of using both hands? That’s precisely why baby carriers were created and are so popular among parents. Baby carriers are practical and highly beneficial for both parents and babies, the … Read more
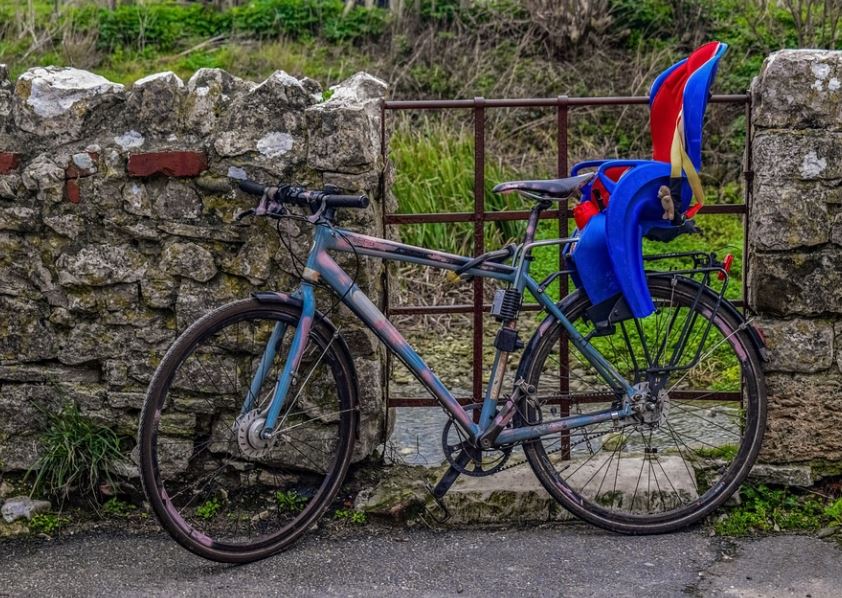
In the search for a bike baby carrier? When you are the athletic type and a parent, we hear you can’t help but move around with your bundle of joy. If you can relate, then riding safety is of utmost … Read more
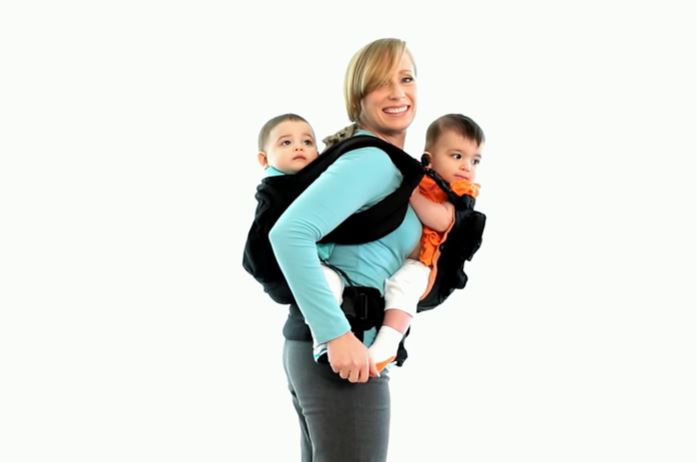
Are you the proud parent of twins? Then a twin baby carrier should be in your vocabulary. When you have twins, baby carriers become much-needed items. Most twins’ parents find them helpful when you have both arms occupied, then you … Read more
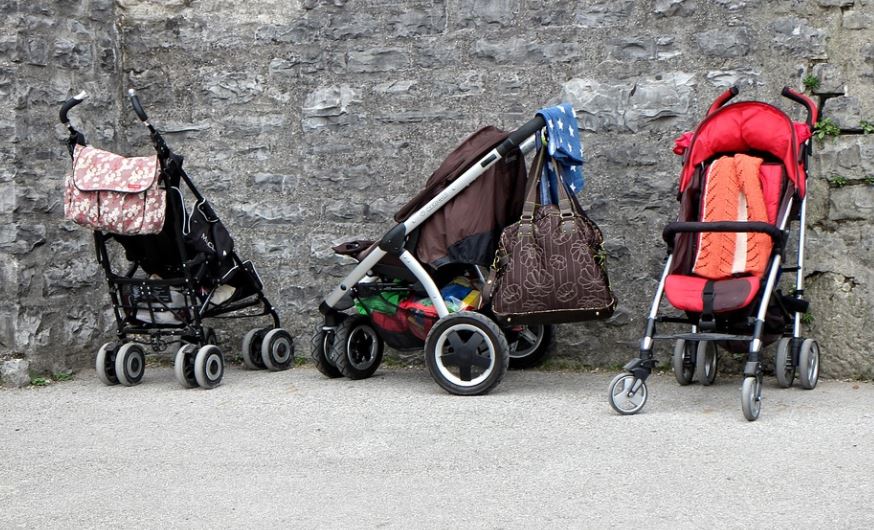
Have you reached the stage where you need to start thinking about strollers? We hear you, whether for you or as a gift for your best friend; when you are in the market for a baby stroller, you may want … Read more
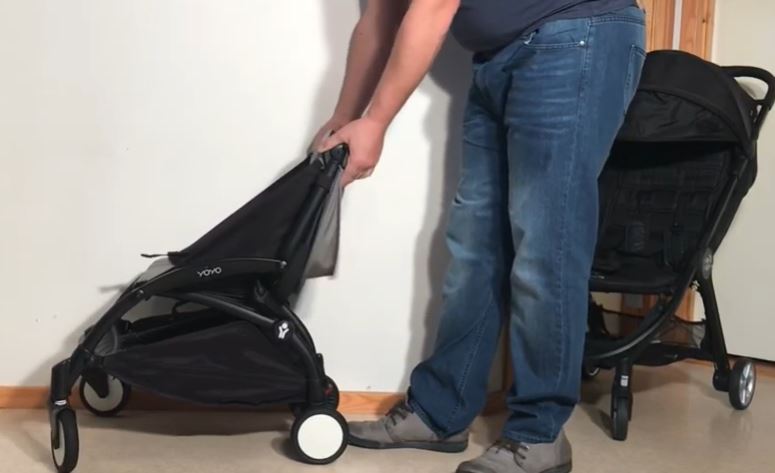
In the search for the smallest folding stroller? We hear you, when you are short on space or fond of travel, then you’ll need a stroller that’s small when folded. When it comes to compact folding strollers, not all mechanisms … Read more
If you are a parent who wishes to travel with your child, you may want to consider investing in a travel stroller. Travel strollers are much needed and convenient when you think about those exciting traveling plans you have with … Read more
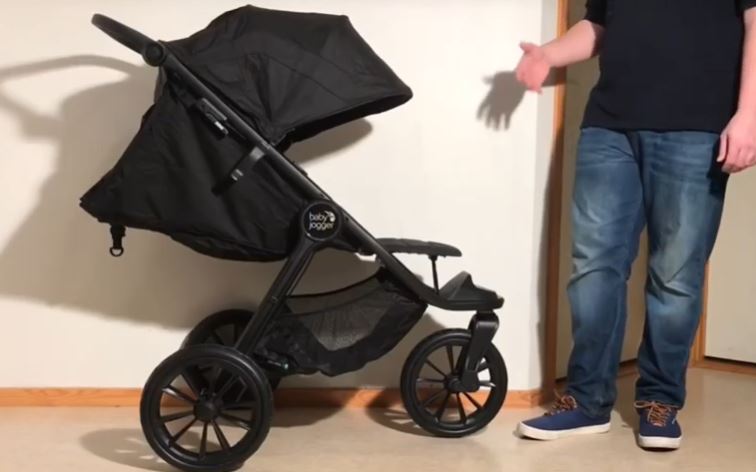
If you are a parent who wants to hit the trail, then you should consider getting an all-terrain stroller. The all-terrain stroller is a great choice right out of the gate for the athletic types or at least those trying … Read more
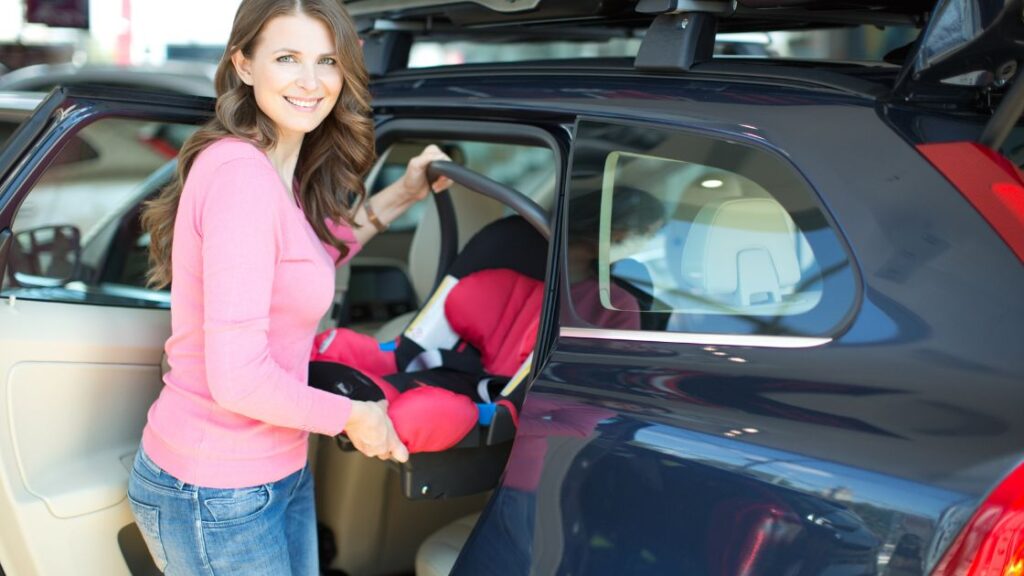
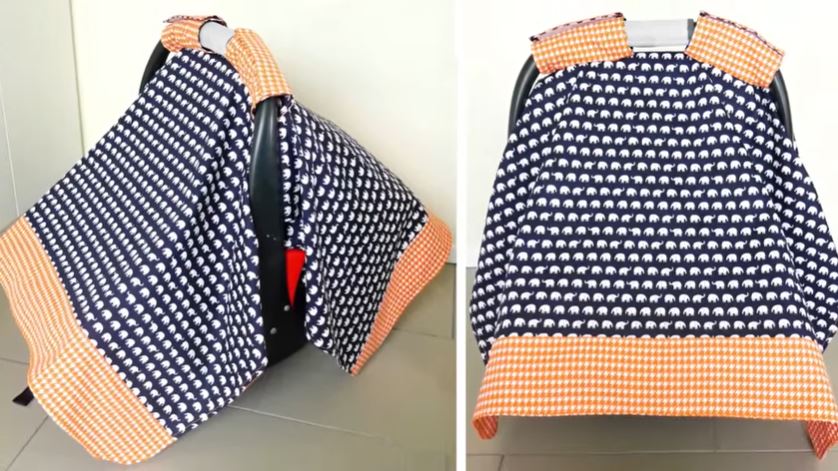
When you are a parent and think about the list of items your baby will require to go on outings and car rides, car seat canopies are top of the list. Even if you want to take a simple stroll … Read more
Suppose trips with your kid are in your near future, then as a responsible and intelligent parent. In that case, you should be prepared, and part of that preparation includes looking into car seat accessories to keep your child as … Read more
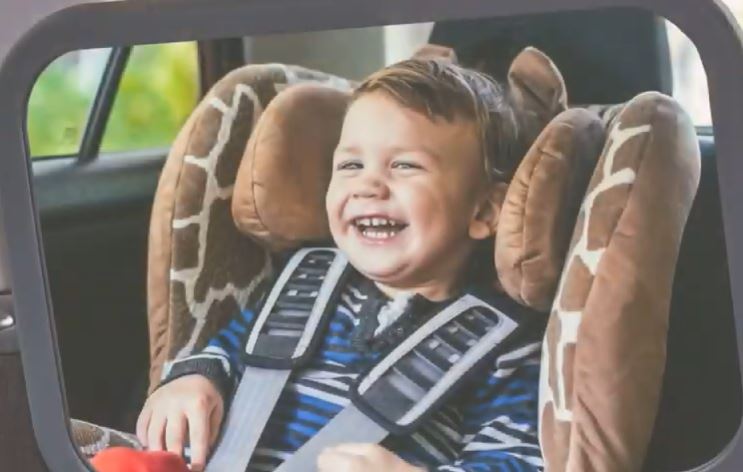
Ever experienced several hours of screaming and crying during a road trip with your kid? If you are a parent of a baby or a toddler, then you may know the feeling of desperation while riding with your annoyed child. … Read more
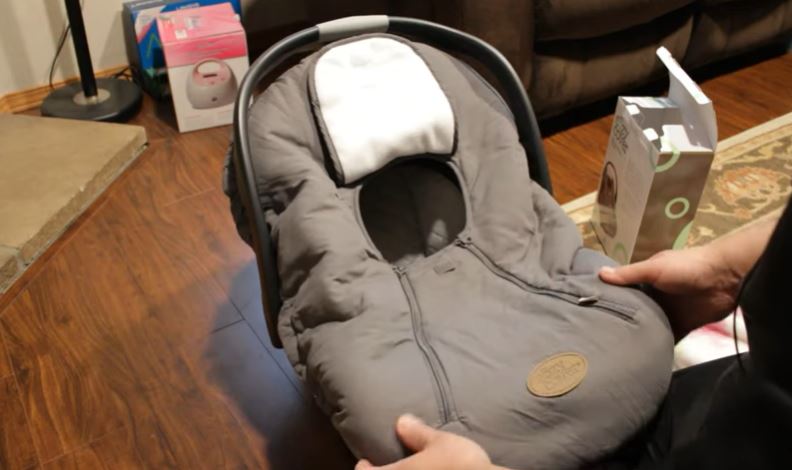
With winter upon us and a new pandemic baby on your hands, and as the responsible parent you are, looking for a baby car seat cover is in your near future. When you have a tiny human to take care … Read more
Congratulations! So you’ve got a bun in the oven, or perhaps it is already out! Either way, you’ll probably soon begin to head out with your bundle of joy and will require a car seat. So if you are on … Read more